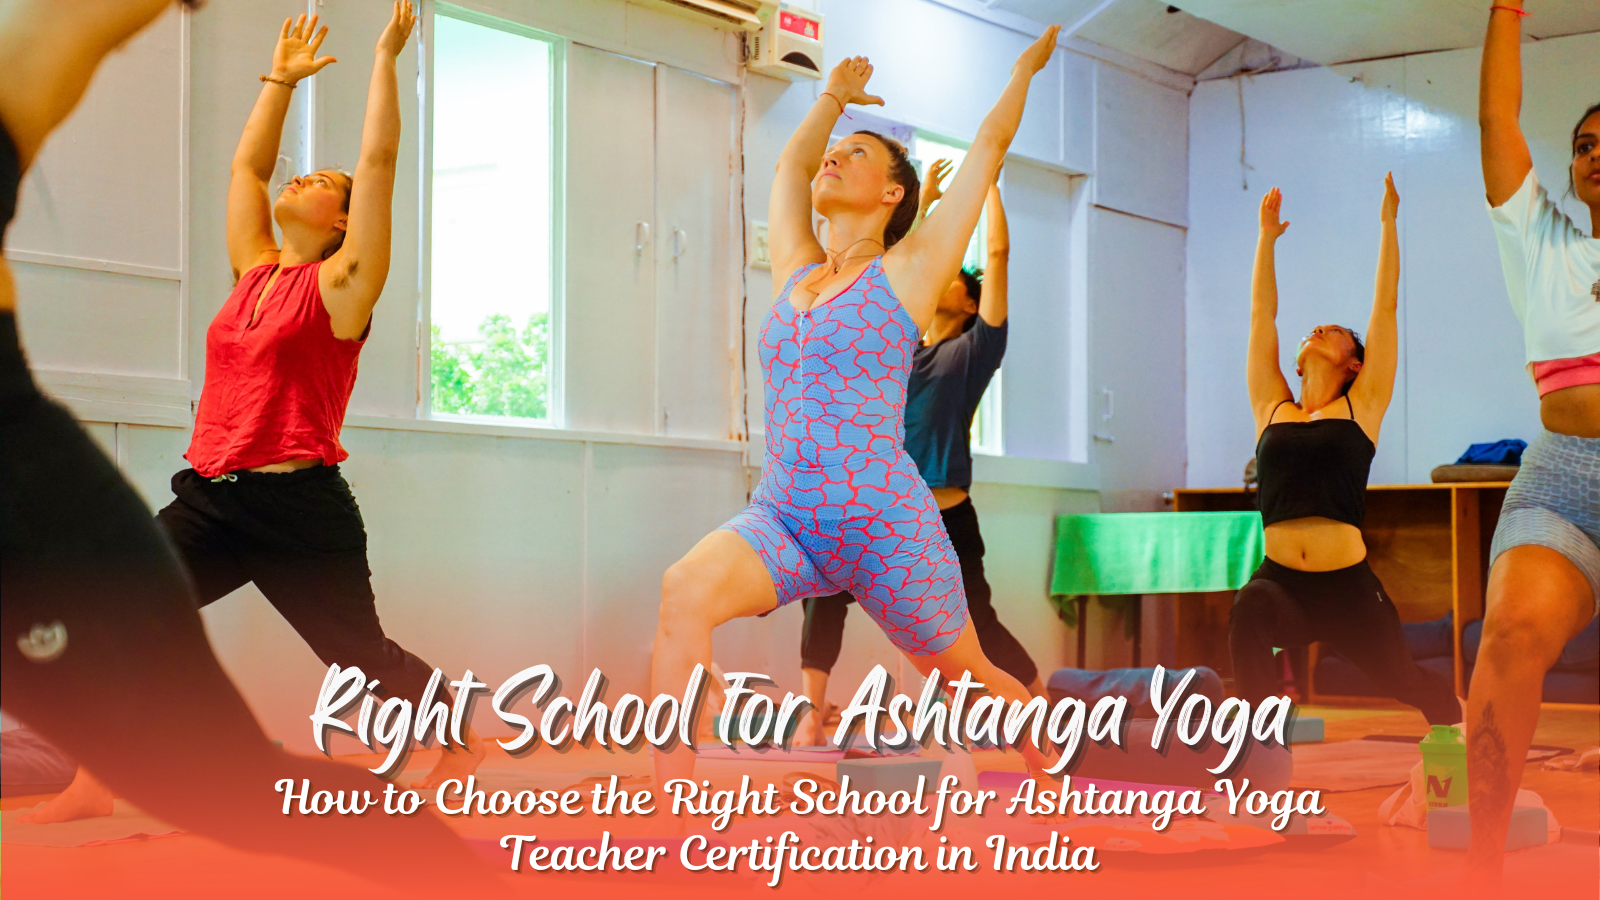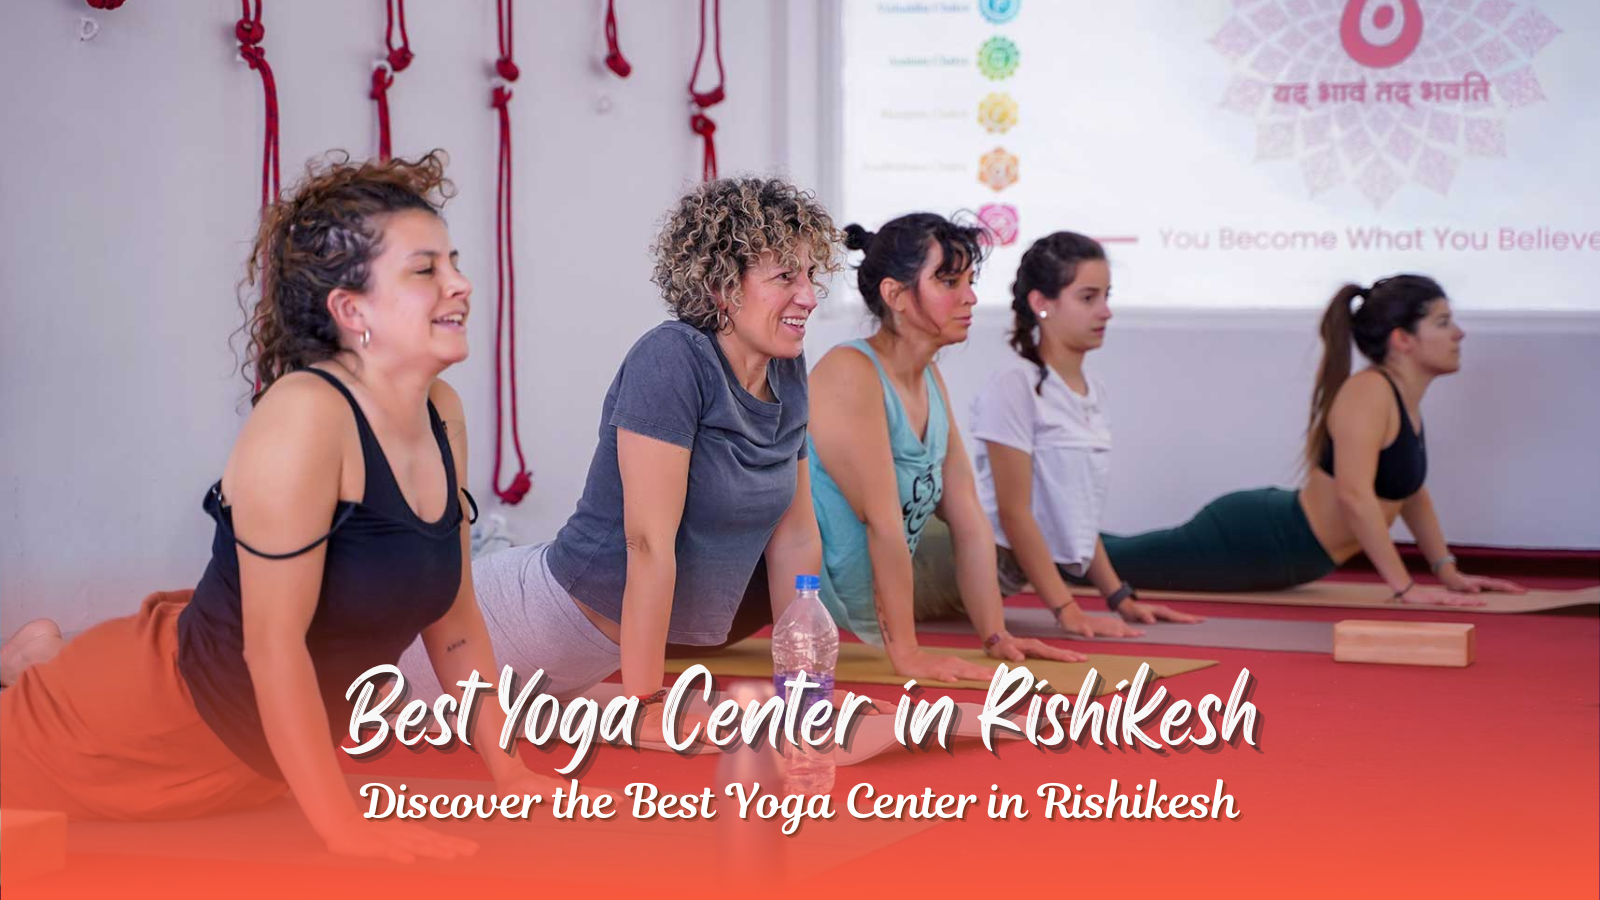
Yoga has its roots in Rishikesh, making it the world’s yoga capital. With the rising interest in health and wellness post-pandemic, many yoga enthusiasts seek to deepen their practice by learning at a best yoga school in Rishikesh. However, choosing the perfect yoga school can be overwhelming with so many options available.
This guide will help you navigate the selection process and explain why Rishikesh is an ideal destination for yoga learning.
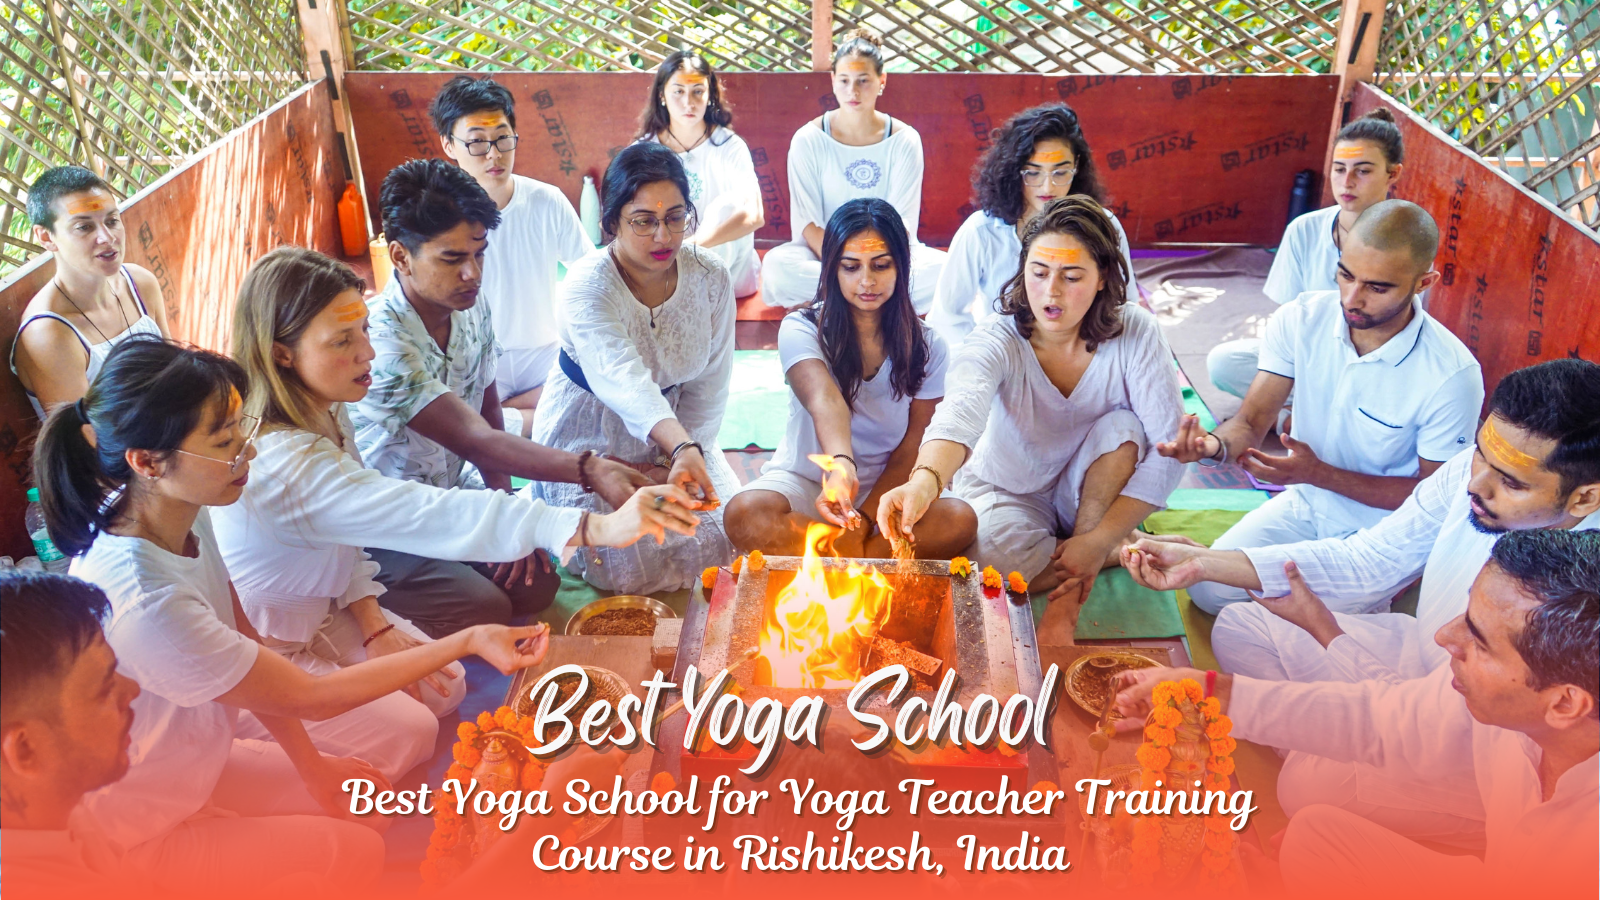
Why Choose Rishikesh for Your Yoga Journey?
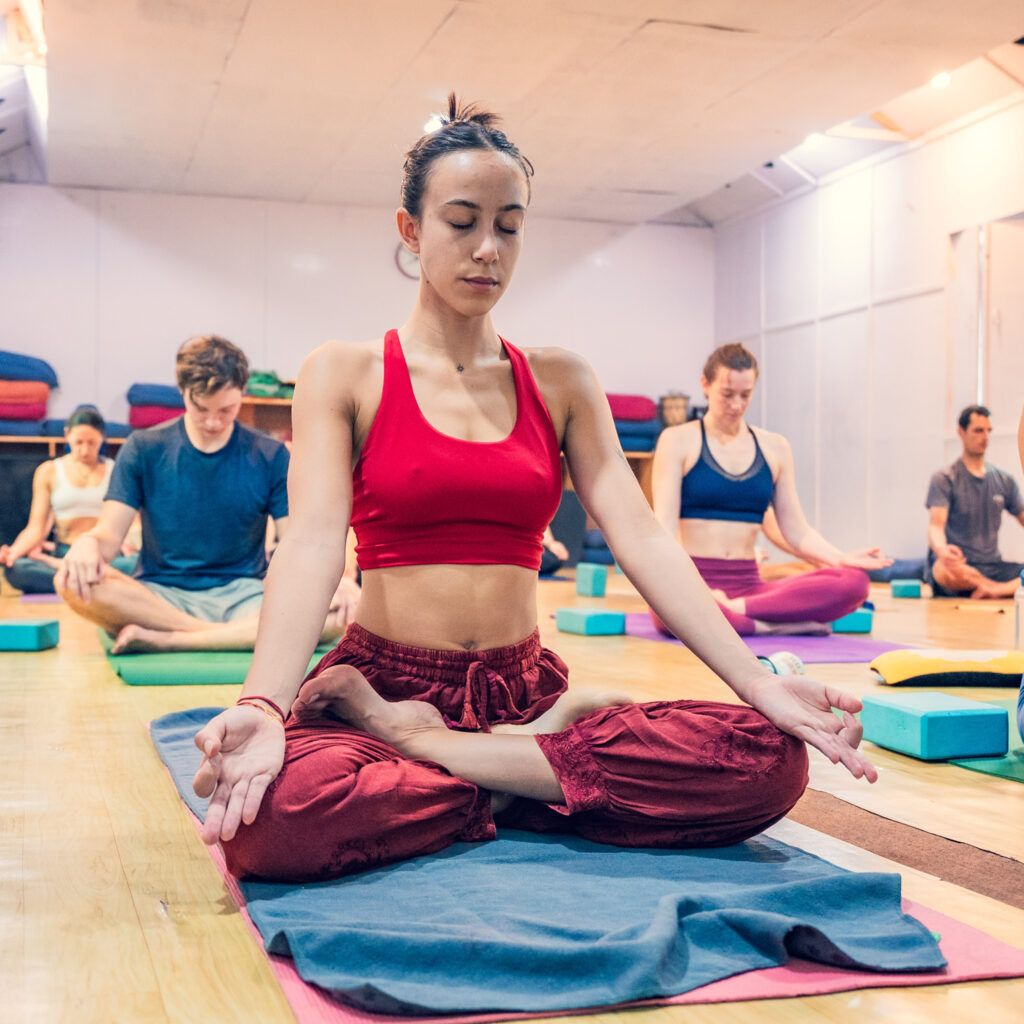
Rishikesh is revered for its spiritual energy, making it the perfect destination for yogic learning. Here’s why:
- Cultural Significance: Known as the birthplace of yoga, Rishikesh has been a hub for yogis and saints since ancient times.
- Scenic Beauty: Surrounded by the Himalayas and the holy Ganges, Rishikesh offers a serene environment for focused learning.
- Authenticity: Many renowned yoga schools in Rishikesh offer traditional teachings that have been passed down for generations.
Whether you’re a beginner or an experienced practitioner, Rishikesh provides an unmatched atmosphere for deepening your yoga practice.
Key Factors to Consider When Choosing a Yoga School in Rishikesh
To find the best yoga school in Rishikesh, consider these essential factors:
1. Course Curriculum
- The curriculum should align with your goals and preferences.
- Look for diverse offerings, such as Hatha, Ashtanga, Kundalini, and Vinyasa styles.
- Ensure the course includes theoretical and practical elements, such as anatomy, philosophy, and meditation.
For instance, Gurukul Yogashala offers a comprehensive curriculum tailored to meet the needs of both beginners and advanced practitioners.
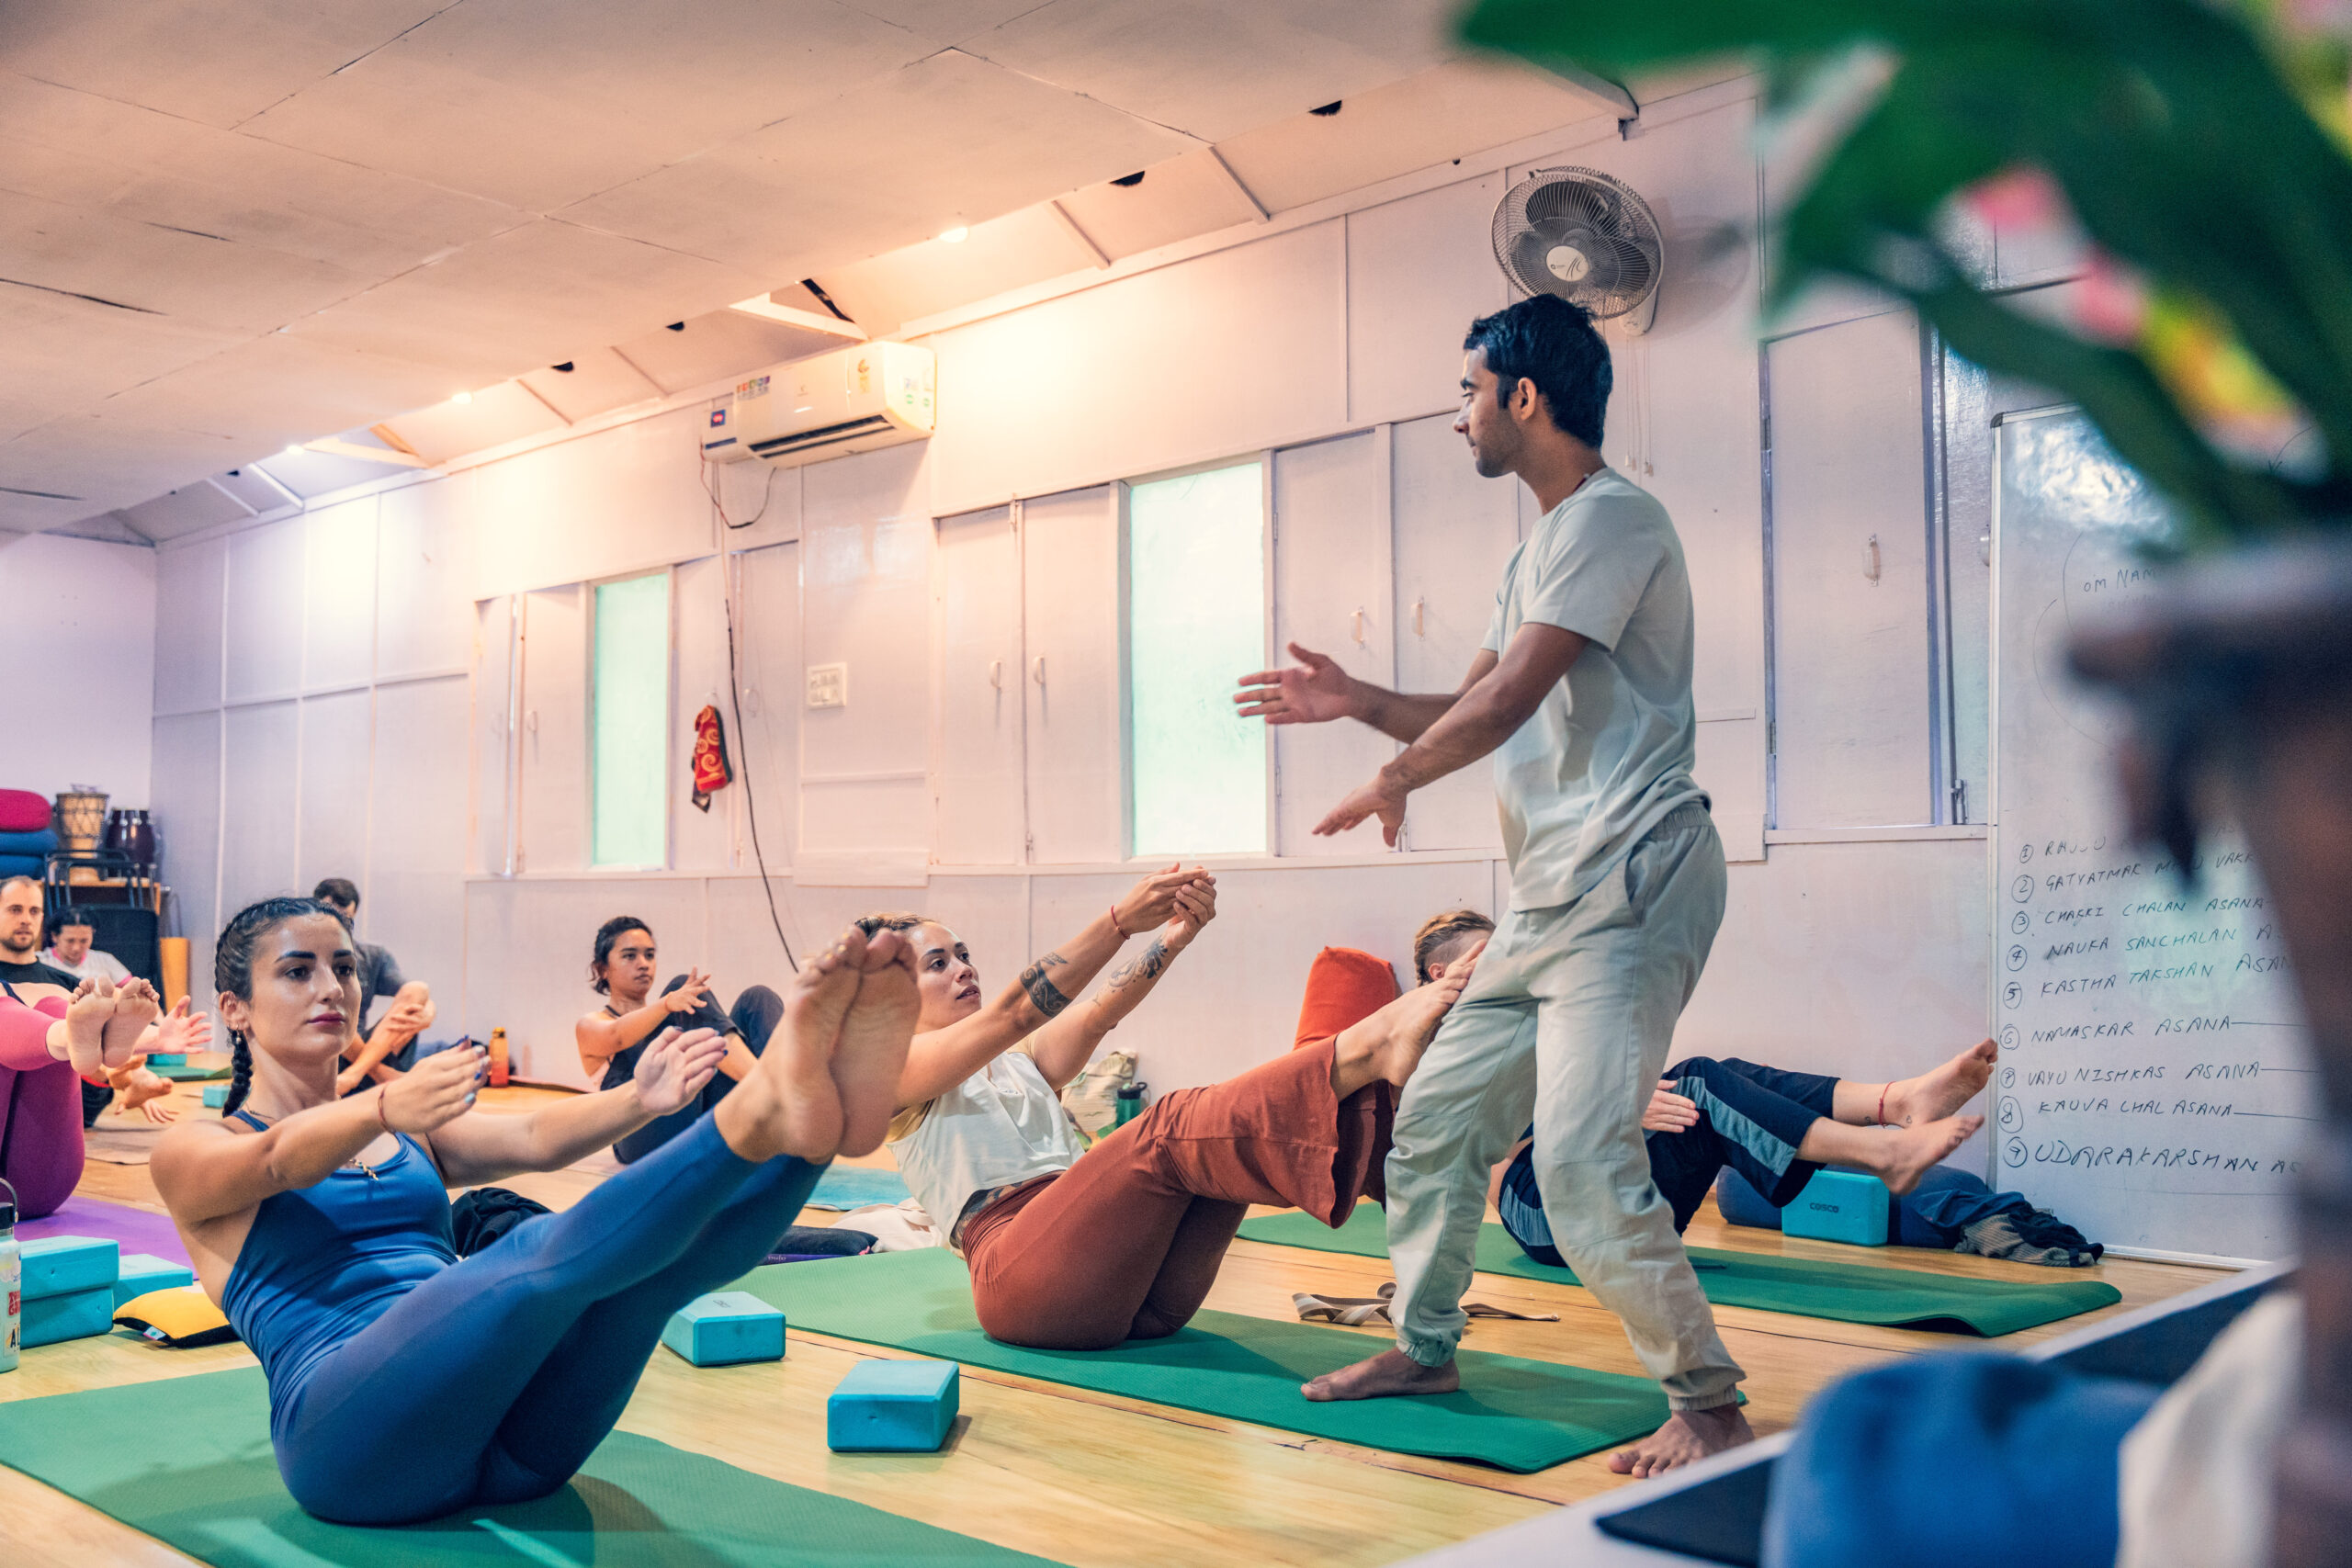
2. Teacher Expertise
- Qualified and experienced teachers are crucial for authentic learning.
- Teachers should have certifications from Yoga Alliance registered schools and a deep understanding of traditional yogic practices.
At Gurukul Yogashala, our instructors are highly experienced, ensuring that students learn the most authentic and traditional techniques.
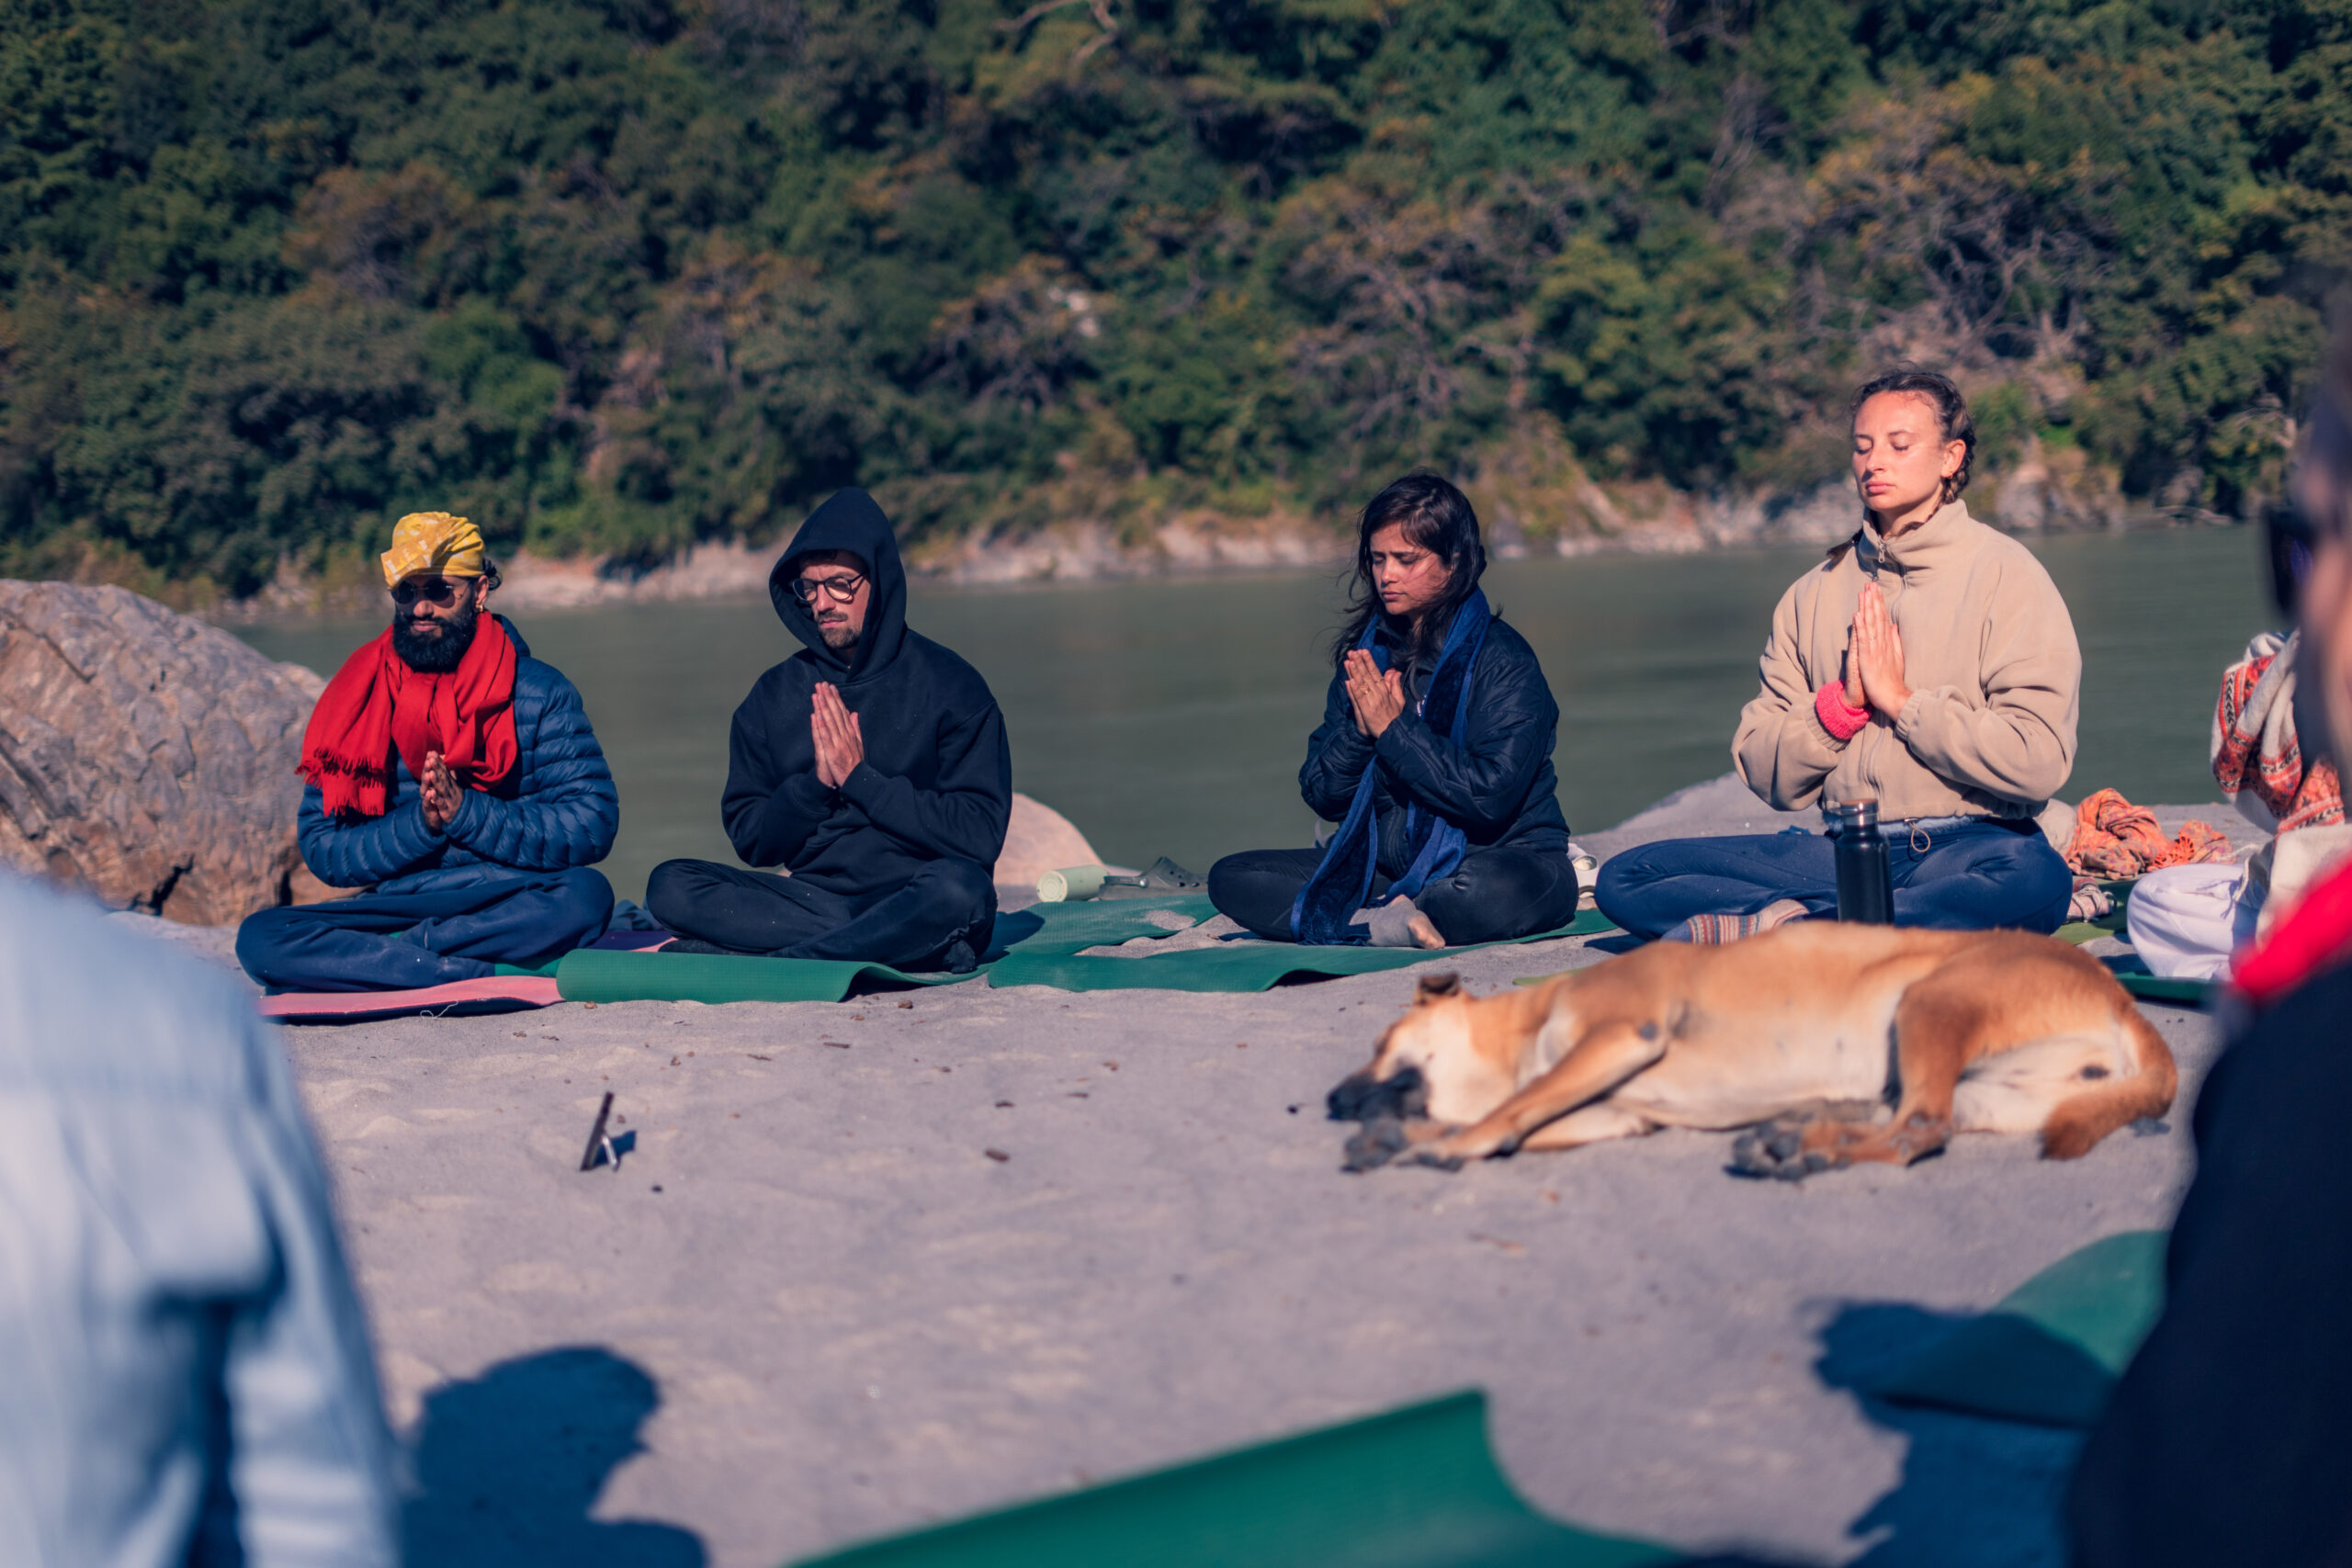
3. Learning Environment
- The location and ambiance of the yoga school play a significant role in your learning experience.
- Rishikesh offers an ideal setting, with tranquil surroundings and spiritual energy.
- Look for schools that provide comfortable accommodations and a sattvic (pure) diet to enhance your practice.
Gurukul Yogashala is situated in the heart of Rishikesh, surrounded by the serene Ganges and Himalayan foothills. Our facilities offer a peaceful retreat for focused learning.
4. Certification
- Ensure the school provides certification upon completing the course.
- Certification from Yoga Alliance registered schools is globally recognized and helps establish your credibility as a yoga teacher.
At Gurukul Yogashala, students receive Yoga Alliance-certified credentials, empowering them to pursue teaching opportunities worldwide.
5. Reputation and Reviews
- Research the school’s reputation by reading online reviews and testimonials.
- Seek recommendations from past students to gain insights into the learning experience.
Popular Yoga Courses in Rishikesh
If you’re looking to deepen your practice or start a career in yoga, Rishikesh offers a range of certified courses, including:
- 200 Hour Yoga Teacher Training Course in Rishikesh: Ideal for beginners exploring yoga teaching fundamentals.
- 300 Hour Yoga Teacher Training in Rishikesh: Designed for intermediate practitioners to expand their knowledge.
- 500 Hour Yoga Teacher Training in Rishikesh: A comprehensive course for advanced students and aspiring yoga masters.
These programs are offered by the best yoga schools in the world, ensuring a transformative learning experience.
Why Gurukul Yogashala Stands Out
Gurukul Yogashala is recognized as one of the best yoga schools in Rishikesh, offering a blend of traditional teachings and modern approaches. Here’s what sets us apart:
- Authenticity: Rooted in traditional practices, our teachings honor the ancient lineage of yoga.
- Expert Teachers: Our instructors are certified and experienced in various yoga styles.
- Serene Environment: Located in the heart of Rishikesh, our school provides an immersive experience surrounded by nature.
- Comprehensive Curriculum: Our courses cater to all levels, ensuring holistic learning for every student.
- Global Certification: As a Yoga Alliance registered school, we offer globally recognized certifications.
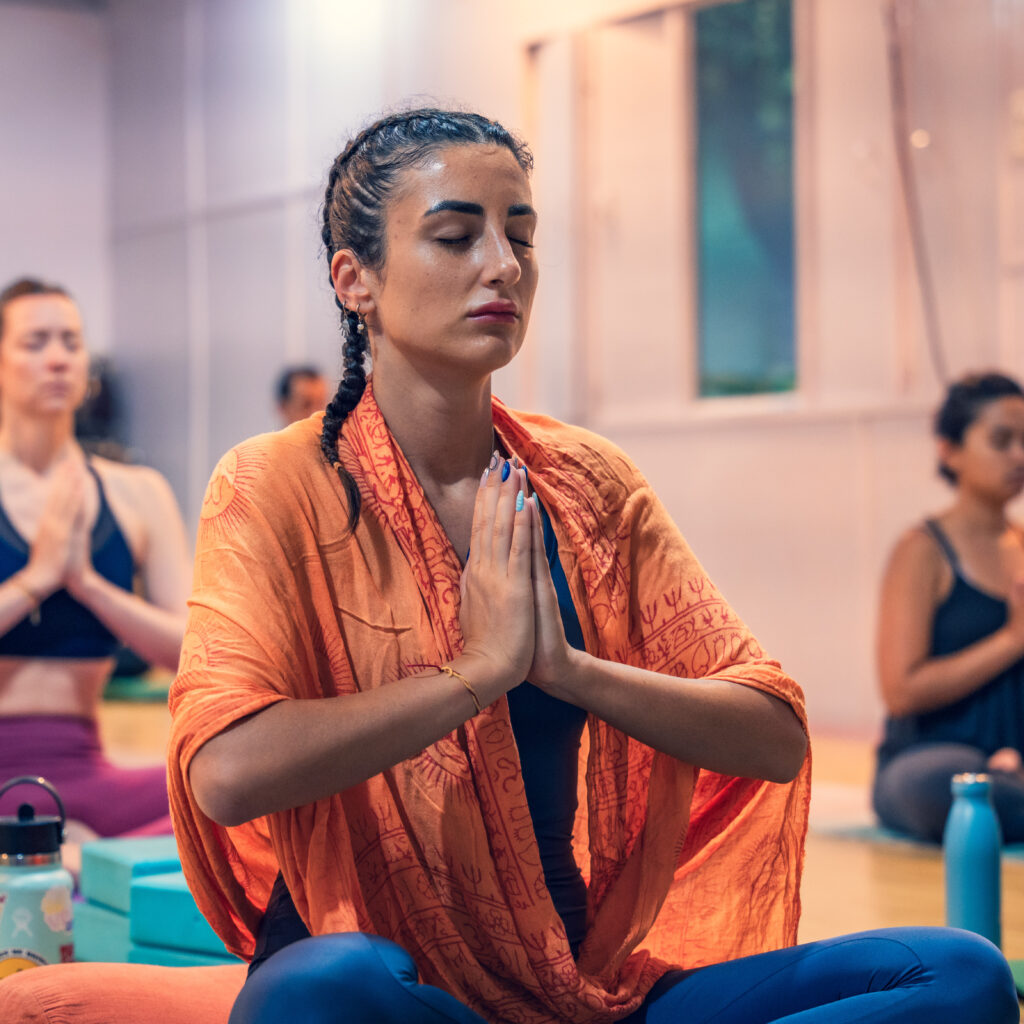
Benefits of Learning Yoga in Rishikesh
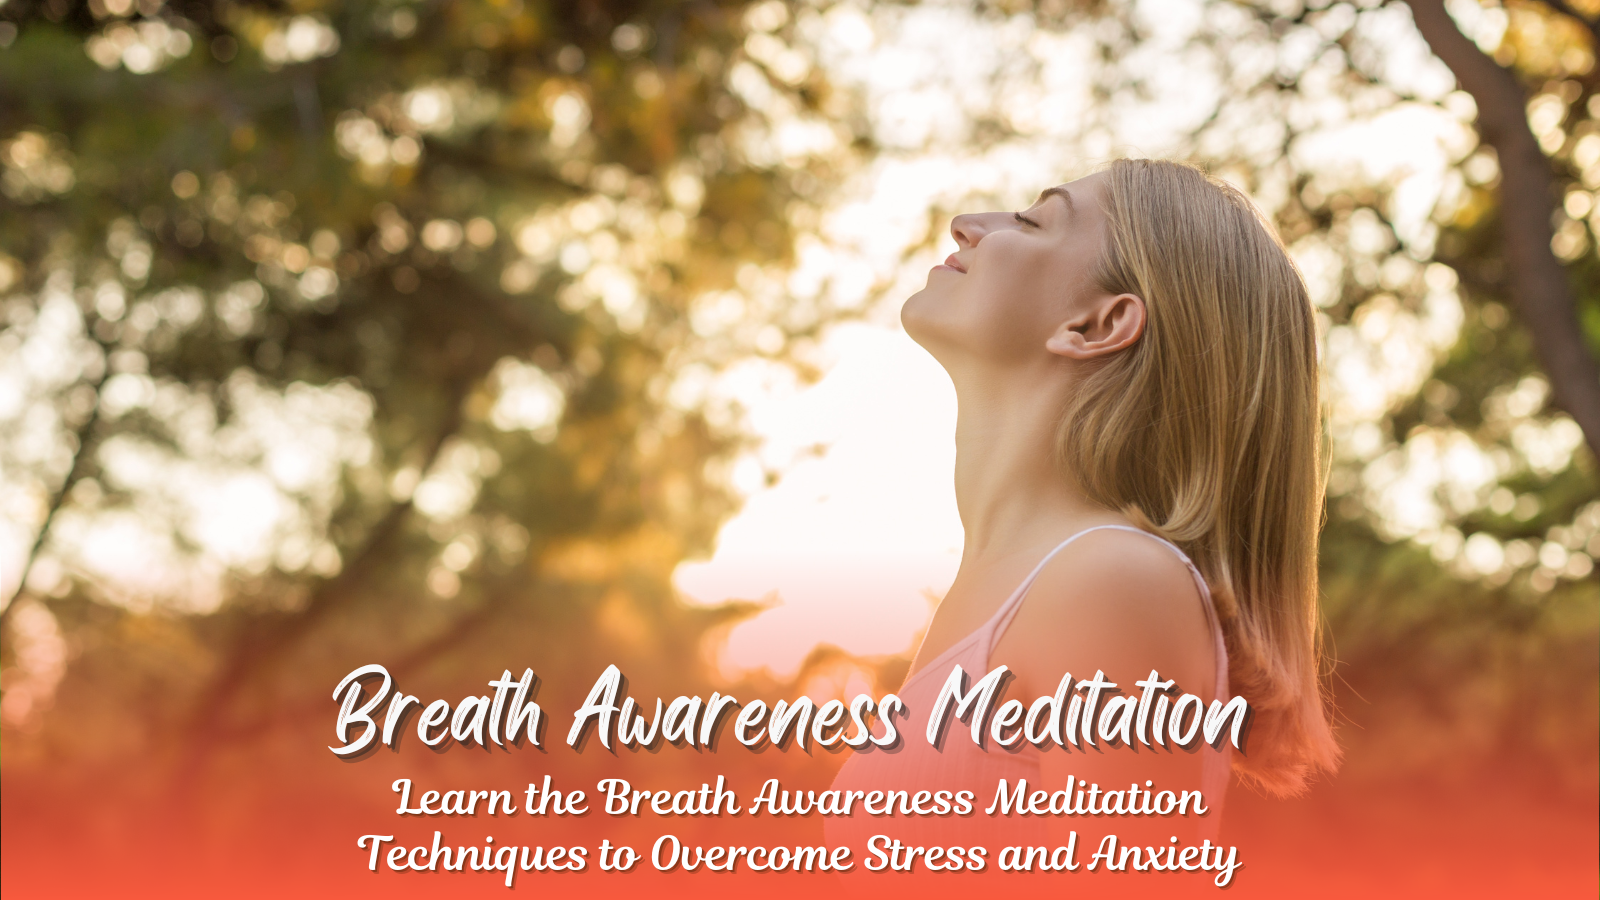
- Spiritual Growth: Practicing yoga in a sacred environment fosters spiritual connection.
- Community: Connect with like-minded individuals from around the globe.
- Holistic Health: Experience improved physical, mental, and emotional well-being.
Conclusion
Choosing the right yoga school in Rishikesh is a crucial step in your yogic journey. By considering factors like curriculum, teacher expertise, environment, and certification, you can make an informed decision.
At Gurukul Yogashala, we are committed to providing an authentic and transformative learning experience. Whether you’re pursuing a 200 Hour Yoga Teacher Training Course in Rishikesh or advancing to the 500 Hour Yoga Teacher Training in Rishikesh, our programs cater to all your needs.
Discover the art of yoga in its purest form and begin your journey with us. Visit our website or contact us today to learn more.