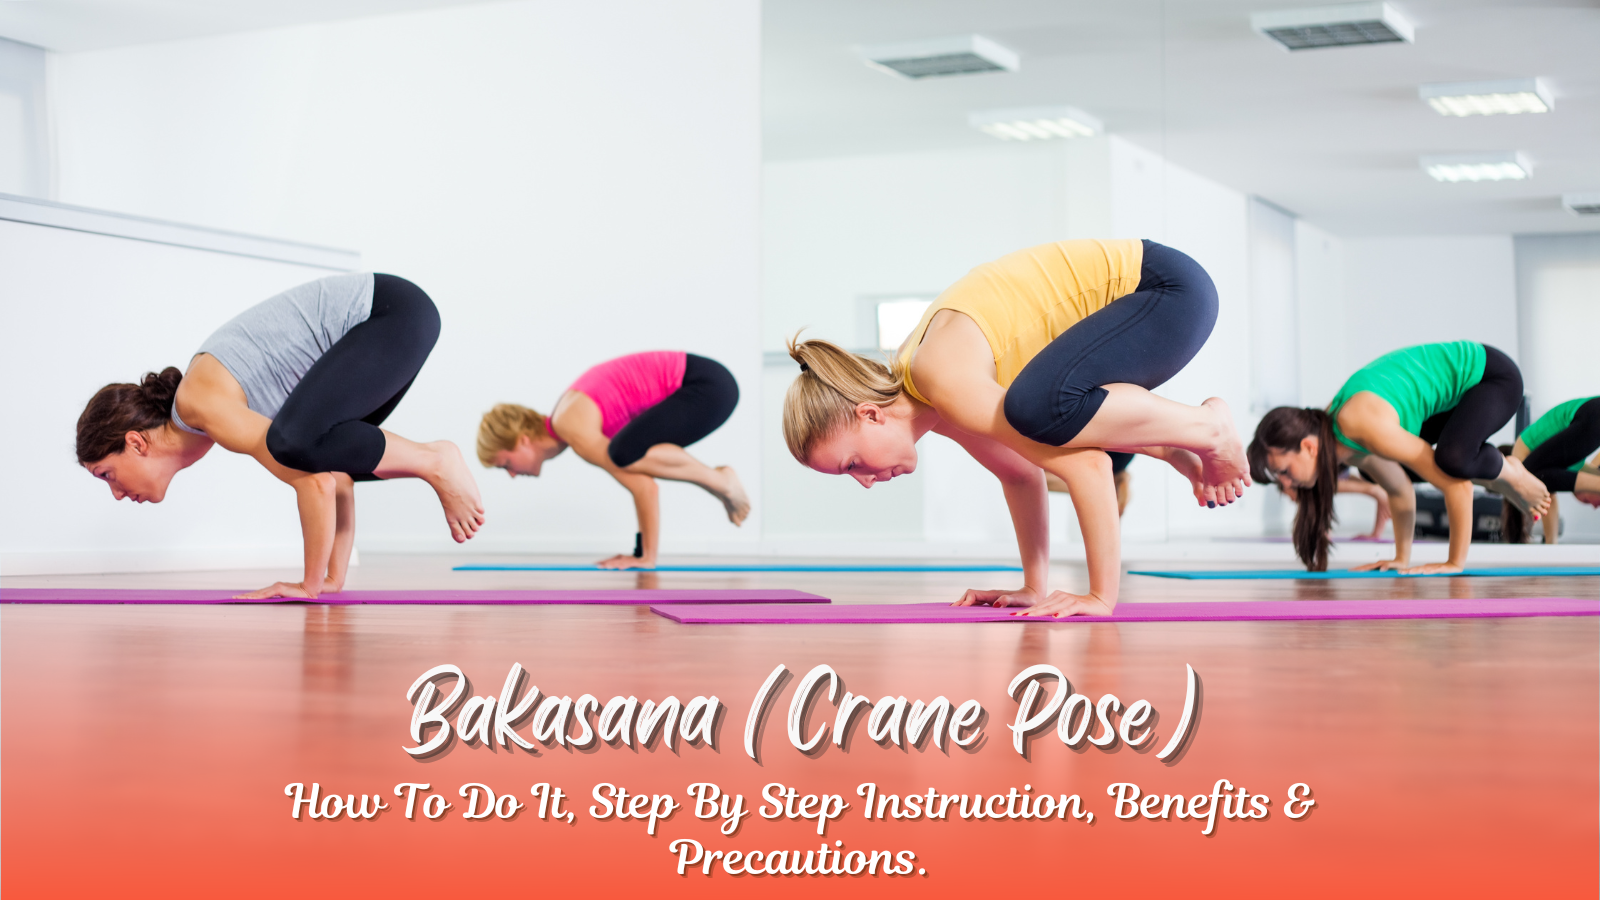
Bakasana, also known as Crane Pose, is a fundamental arm balance in yoga that strengthens your core, arms, and focus. This challenging posture requires dedication and mindfulness, offering physical and mental benefits for practitioners of all levels. In this blog, we’ll explore how to do Bakasana, bakasana pose benefits, variations like Parsva Bakasana and Eka Pada Bakasana, and key precautions.
Introduction to Bakasana (Crane Pose)
- What is Bakasana?
Bakasana, or Crane Pose, is an arm balance that builds strength, stability, and focus. Its name originates from the Sanskrit words “baka” (crane) and “asana” (pose). - What Makes It Unique?
This pose symbolizes a crane standing tall, emphasizing lightness and grace. Bakasana is integral to yoga traditions, including Ashtanga Yoga and modern practices. - Variations in Focus:
- Parsva Bakasana (Side Crane Pose) adds a twist.
- Eka Pada Bakasana (One-Legged Crane Pose) enhances balance and strength.
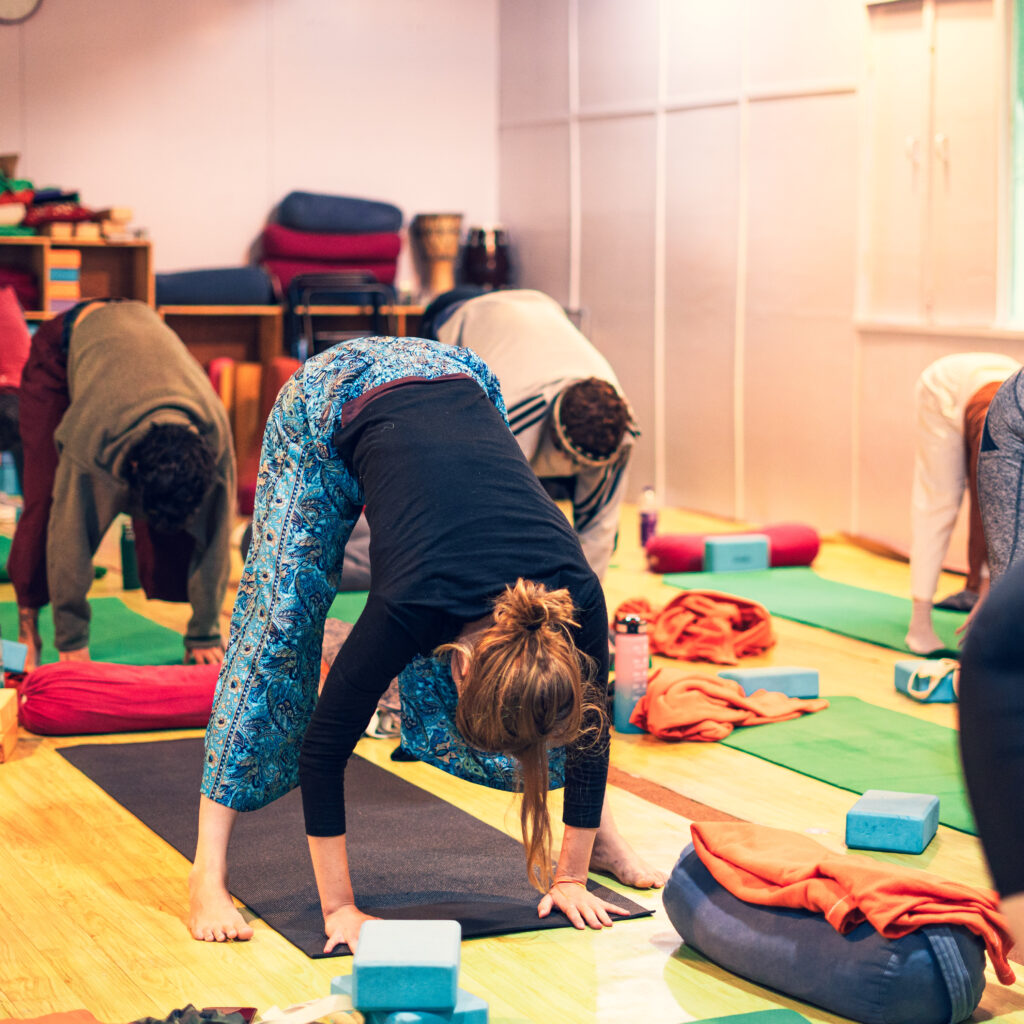
How to Do Bakasana Step-by-Step
Achieving the Bakasana pose requires patience and practice. Follow these steps:
- Warm Up: Prepare your wrists, shoulders, and core with stretches.
- Initial Position: Begin in a squat, keeping feet hip-width apart.
- Hand Placement: Place hands shoulder-width apart, fingers spread wide, and press firmly into the mat.
- Engage Core: Lift your hips as you lean forward, bringing knees onto the back of your upper arms.
- Find Your Balance: Shift weight onto your hands, gradually lifting one foot off the ground.
- Full Expression: When comfortable, lift both feet and bring them together, engaging your core.
- Hold and Breathe: Maintain the pose for 5–10 breaths.
Benefits of Bakasana
- Physical Strength:
- Builds arm, wrist, and shoulder strength.
- Engages the core for stability and balance.
- Flexibility & Openness:
- Stretches the spine and hips.
- Improves mobility in wrists and ankles.
- Mental Focus:
- Enhances concentration and mindfulness.
- Cultivates a sense of lightness and grace.
- Digestive Health:
- Compresses abdominal organs, stimulating digestion.
- Stress Reduction:
- Balancing postures calm the nervous system.
Bakasana Variations to Explore
- Parsva Bakasana (Side Crane Pose): Adds a lateral twist, engaging obliques and increasing core strength.
- Eka Pada Bakasana (One-Legged Crane Pose): Requires lifting one leg for added challenge.
- Bakasana in Ashtanga Yoga: Often included in advanced sequences.
- Kakasana vs Bakasana: Kakasana (Crow Pose) differs slightly, with bent arms and a lower center of gravity.
Key Precautions for Safe Practice
- Avoid Overexertion: Don’t push beyond your comfort zone, especially with wrist or shoulder pain.
- Use Props: Support your feet with blocks if needed.
- Warm Up Thoroughly: Prepare wrists, shoulders, and hips with dynamic stretches.
- Avoid During Pregnancy: This pose is not recommended for expectant mothers.
- Focus on Alignment: Ensure proper positioning to avoid strain.
Preparation Poses for Bakasana
- Plank Pose (Phalakasana): Builds wrist and shoulder strength.
- Garland Pose (Malasana): Opens the hips and strengthens the lower body.
- Dolphin Pose: Prepares the shoulders and arms for weight-bearing.
- Chaturanga Dandasana: Develops arm and core strength.
Training Options in Rishikesh
Deepen your yoga journey with professional guidance at the Best Yoga Teacher Training in Rishikesh. Options include:
- 200 Hour Yoga Teacher Training Course in Rishikesh: Ideal for beginners mastering foundational poses.
- 300 Hour Yoga Teacher Training in Rishikesh: A bridge to intermediate and advanced yoga techniques.
- 500 Hour Yoga Teacher Training in Rishikesh: Comprehensive training for aspiring yoga teachers and advanced practitioners.
Conclusion: The Power of Bakasana
Crow Pose Bakasana is more than a physical challenge—it’s a mental and spiritual journey. This pose encourages strength, flexibility, and resilience. Whether exploring Parsva Bakasana or delving into the Bakasana Ashtanga tradition, consistent practice brings transformative benefits.
Incorporating Bakasana into your routine not only enhances your yoga practice but also nurtures mindfulness and self-confidence. Remember, the key to mastering Bakasana how to do is patience, practice, and professional guidance.
Embrace this journey with an open heart, and consider advancing your skills through a yoga teacher training program in Rishikesh, the yoga capital of the world.