When you look at arm balances from a distance, they simply look amazing. However, if you try them out, without understanding the background prep and the nuances, you will be in for a rude shock. Yes, you can seriously injure yourself, while doing arm balances, if you do not do them the right way. That is why, you must join a yoga school in Rishikesh for proper guidance on such postures that require you to hold your own body weight with the help of your arms.
Today, you will gain complete knowledge of various arm balances, and how you can acquire the skills to do them safely. Let us delve into the details.
Arm Balances In Yoga
Yoga arm balances are challenging poses that require the practitioner to have a lot of shoulder, arm, and wrist strength. These poses mainly involve balancing the entire weight of the body on the hands, while engaging the core muscles. The legs are floating most of the time, in arm balance poses. You will likely gain in terms of a fitter core, improved balance, and focus. Some of the most popular arm balance poses that you may come across are Bakasana, Kakasana, Eka Hasta Bhujasana, Vrschikasana, and Parsva Bakasana. You can join a yoga teacher training india, to get down to the details.
Most beginners fail to do these arm balances, for lack of strength and power. They also require you to be a bit flexible. However, there are tons of benefits that you can derive from them. One of them is, it sharpens your mental focus. These poses challenge the mind to remain balanced no matter what happens. You can also get the power to face your insecurities, through regular practice of arm balances. Such practices also make you more adaptive to your surroundings. You can now learn about them in complete detail, as a part of the yoga teacher training in Rishikesh.
Why Wrist Health Is Important In Arm Balances?
You have to pay a lot of attention to your shoulders, triceps, forearms, and the core if you want to practice arm balances, without stress. However, the wrists are the most important, as they are the point of contact between the body and the floor. If you have never lifted weights then your arms may not be as strong.
However, arm balances can train your upper body strength and help you to navigate through arm balances effortlessly. There are three main things, through which you can keep your wrists happy in various ways, so as to reduce the risk of injuries. They are correct warmups, strengthening exercises, correct alignments, and therapeutic exercises. Gurukul Yogashala’s yoga teachers have complete knowledge about the above nuances and will definitely guide you through it.
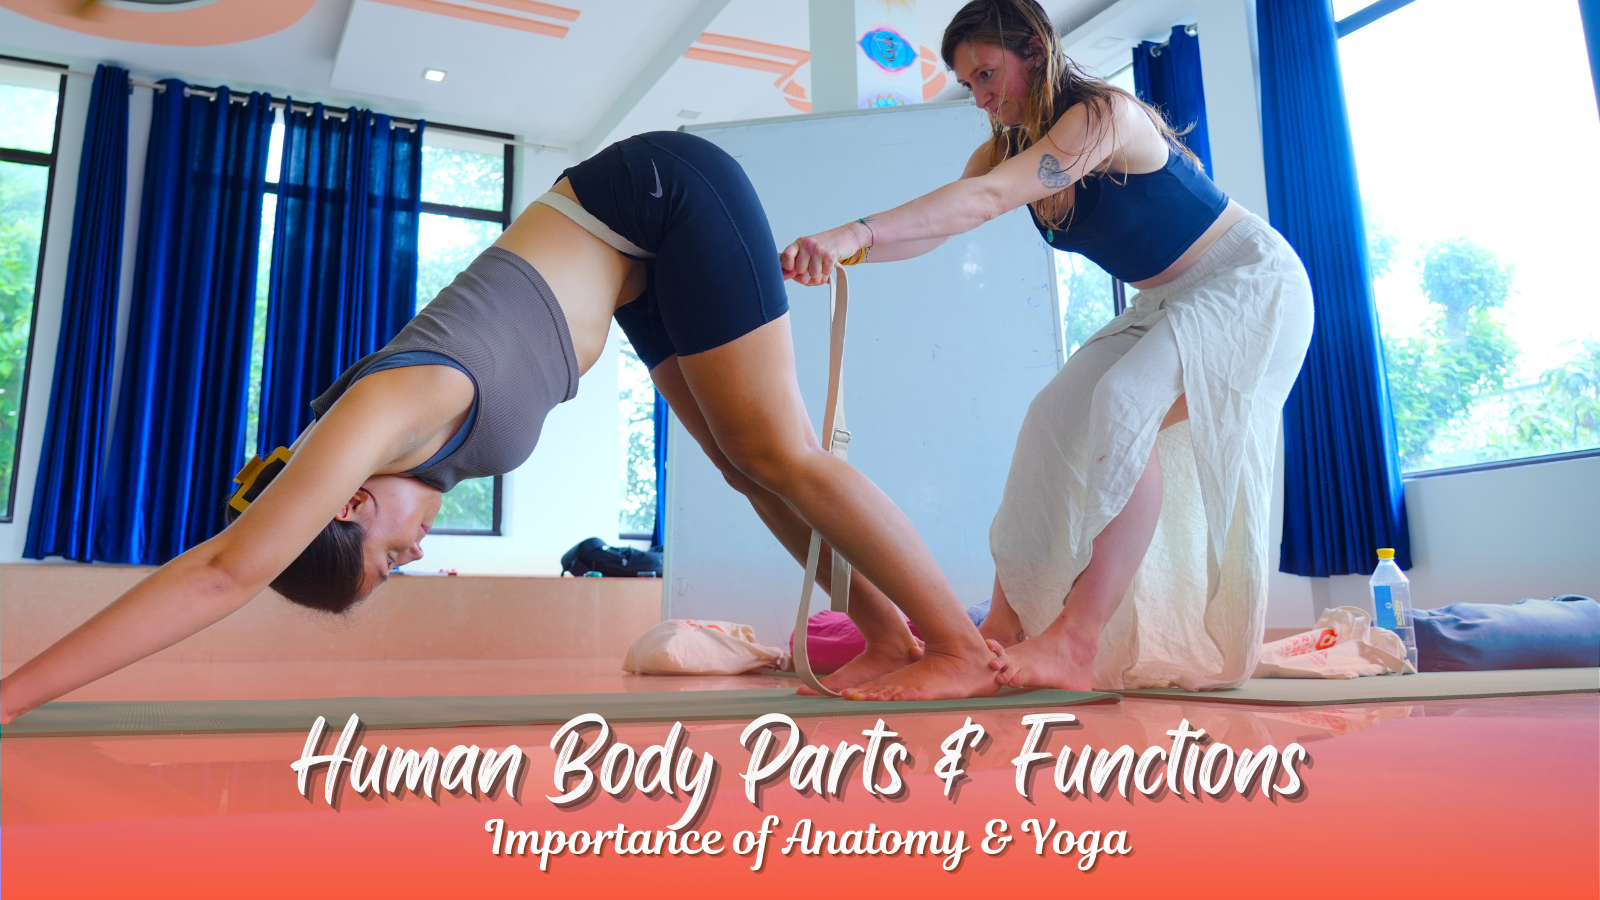
As a part of the yoga teacher training in Rishikesh, you will learn about the anatomy first. This is extremely important before you embark on a series of practices to enhance your wrist strength. Let us find out how you can go about it.
Wrist Anatomy Decoded
The wrist has 8 small carpal bones, which form the carpus. These are strung together, providing stability. The bottom side of the carpus is concave, thereby creating a channel through which tendons, nerves, and ligaments navigate. This is collectively called the Carpal tunnel.
The carpal bones connect to the end of the bones, radius and ulna, along with the five metacarpals. The joint has a web of ligaments, for mobility and stability. When you keep the joints mobile, they remain mobile. When you exercise the joints, the gel-like material remains in a fluid condition.
If you stop movement, it solidifies. Thus, you must engage in various exercises to keep the wrists functioning smoothly. In Hatha Yoga, joint health gets a lot of importance, as it helps in achieving finesse in your poses. Learn about these through diagrams at Gurukul Yogashala, as a part of their 200 hours yoga teacher training in Rishikesh.
How To Prepare The Wrists With Warm-Up Exercises?
Here are a few warm-ups as suggested by the yoga school, that will keep your wrists mobile, so that you can develop their strength with better engagement.
- Wrist Rotations – You can stretch the arms in front of you, and rotate the wrists towards the left and right. This is an excellent way to mobilize the wrists.
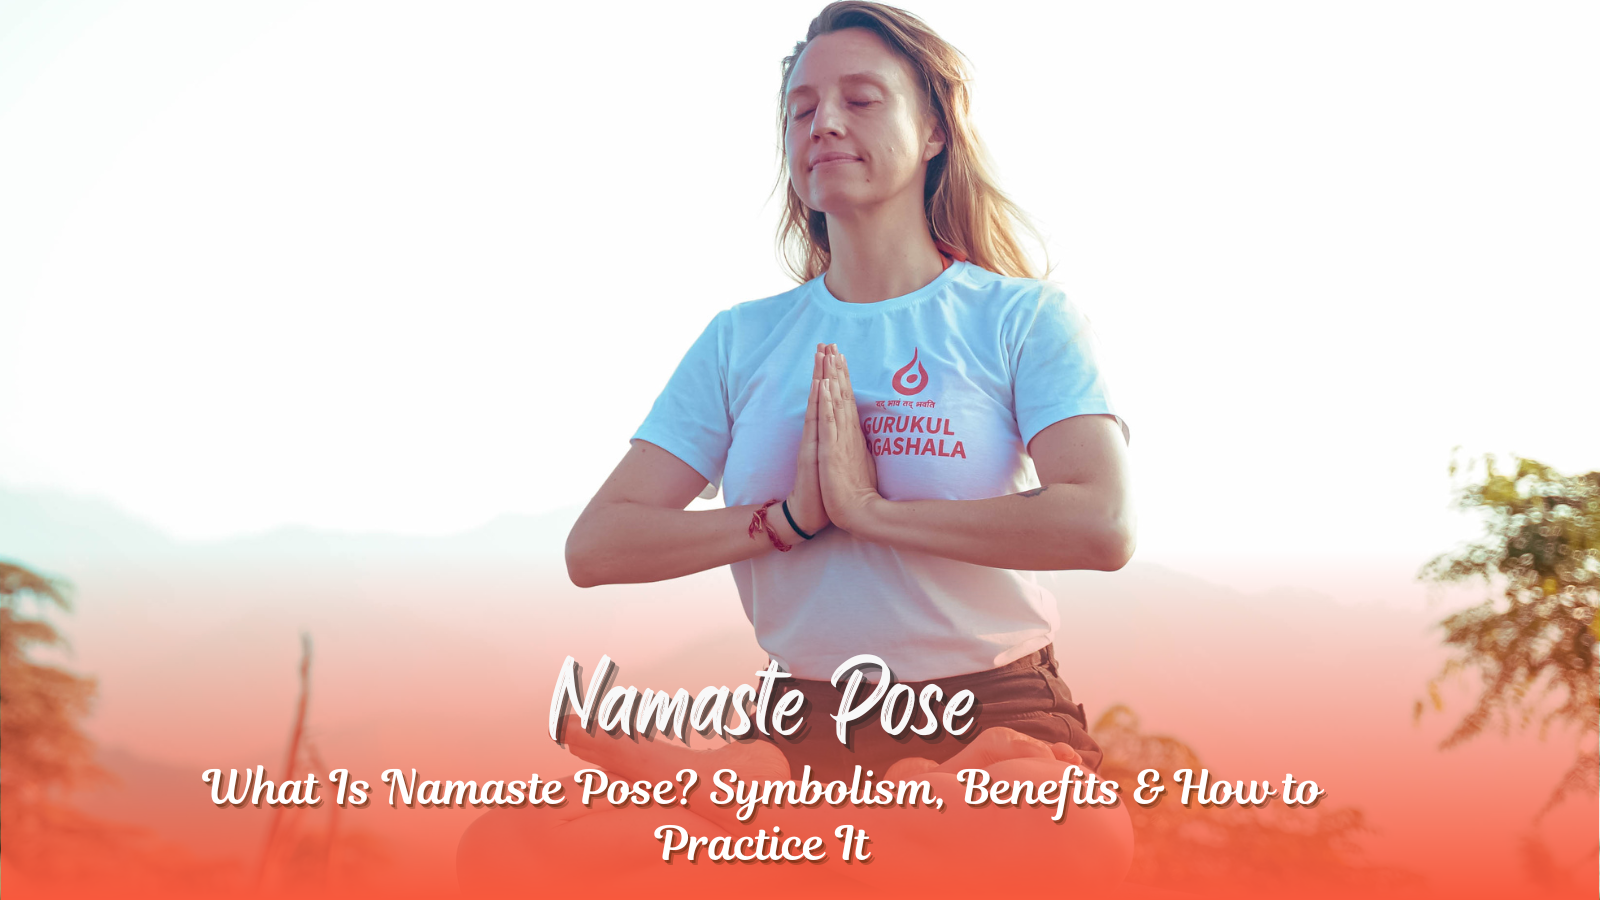
- Anjali Mudra – This is another important practice to strengthen the wrists. You can start by sitting with your arms on a table for support. Press the palms against one another, while allowing the elbows to rest on the table. Slowly, you can lower your hands towards the table, and that is when you feel a stretch.
- Hand Lifts – You can also practice hand lifts, by keeping your hands on a table, with the hands hanging downward from the free edge. A rolled up towel underneath the wrists can make it better. While keeping the fingers free, you can just rotate your hands upwards and then come back.
These are excellent preparatory exercises for the wrists, before you embark on the arm balance journey.
Proper Alignment In Arm Balances
Alignment is very important, when it comes to arm balances. Take the example of Bakasana. It is the easiest one of the lot. If you can get through the Bakasana, without any injuries, then you can do any of the arm balances without any difficulty.
You can start in the Malasana pose, with knees jutting out, and the feet flat on the ground. Keep the hands on the ground before you, with the palms in contact with it.
Various Techniques For Arm Balance – By Yoga Experts
A few techniques that should help you with your arm balances are:
- Improving your wrist flexibility
- Knowing where to exert your weight
- Building scapular strength
- Learning core stability
- Adding mindfulness to the movements
These are a few techniques that should help you to get your arm balances right. Learn about the above in more detail at the yoga school in Rishikesh.
FAQS
1. How do you protect your wrists during arm balances?
Protect your wrists by warming up with gentle stretches, spreading the fingers wide, pressing evenly through the palms, and keeping the shoulders aligned over the wrists. Strengthening the forearms and engaging the core also reduces excess pressure.
2. Why do my wrists hurt during arm balances?
Wrist pain occurs when too much weight collapses into the palms, poor alignment, weak forearms, tight shoulders, or lack of warm-up. Incorrect hand placement or overuse can also strain the wrist joints.
3. How can I strengthen my wrists for yoga?
Practice exercises like wrist circles, fist push-ups, fingertip holds, forearm strengthening, and weight-bearing drills such as tabletop and Plank Pose. Regular mobility work improves flexibility and endurance.
4. Are arm balances safe for beginners?
Yes, arm balances are safe for beginners when practiced with proper alignment, warm-up, wrist preparation, and guidance from a certified instructor. Starting with beginner-friendly poses like Crow Pose reduces risk.
5. Should I avoid arm balances if I have wrist pain?
If your wrists hurt, avoid intense arm balances until the pain reduces. Rest, stretch gently, strengthen the wrist muscles, and correct alignment before attempting weight-bearing poses again.
6. How can I improve my wrist mobility for yoga?
Practice daily mobility drills such as flexion/extension stretches, palm lifts, wrist waves, and forearm stretches. Slow, controlled movements increase joint range and reduce stiffness.
7. What are the safest arm balances for weak wrists?
Beginner-friendly and wrist-safe options include Dolphin Pose, Forearm Crow, and modified Crow using blocks. These poses reduce pressure by shifting weight toward the forearms and shoulders.
8. Does wrist alignment matter in arm balances?
Yes. Proper wrist alignment—fingers spread, weight evenly distributed, shoulders stacked over wrists—prevents strain and enhances stability. Misalignment is a major cause of pain and injury.
9. How long does it take to build wrist strength for arm balances?
With consistent practice, most yogis notice improved wrist strength in 2–6 weeks. Progress depends on regular warm-ups, alignment awareness, and strengthening exercises.
10. Can yoga props help protect the wrists?
Absolutely. Blocks, wedges, and straps reduce pressure, improve alignment, elevate the palms, and make arm balances more accessible for those with wrist sensitivity.
Conclusion
At Gurukul Yogashala, during the asana practice and alignment practices, the teachers and the gurus understand your problems related to alignments. As a part of the teacher training courses, you can understand how to avoid injuries yourself and also for your students. Gurukul Yogashala is a Yoga Alliance registered yoga school, where you will learn alignments, adjustments, and modifications in complete detail, not just related to arm balances, but to all poses. This will help you to initiate a safe practice in your sessions.