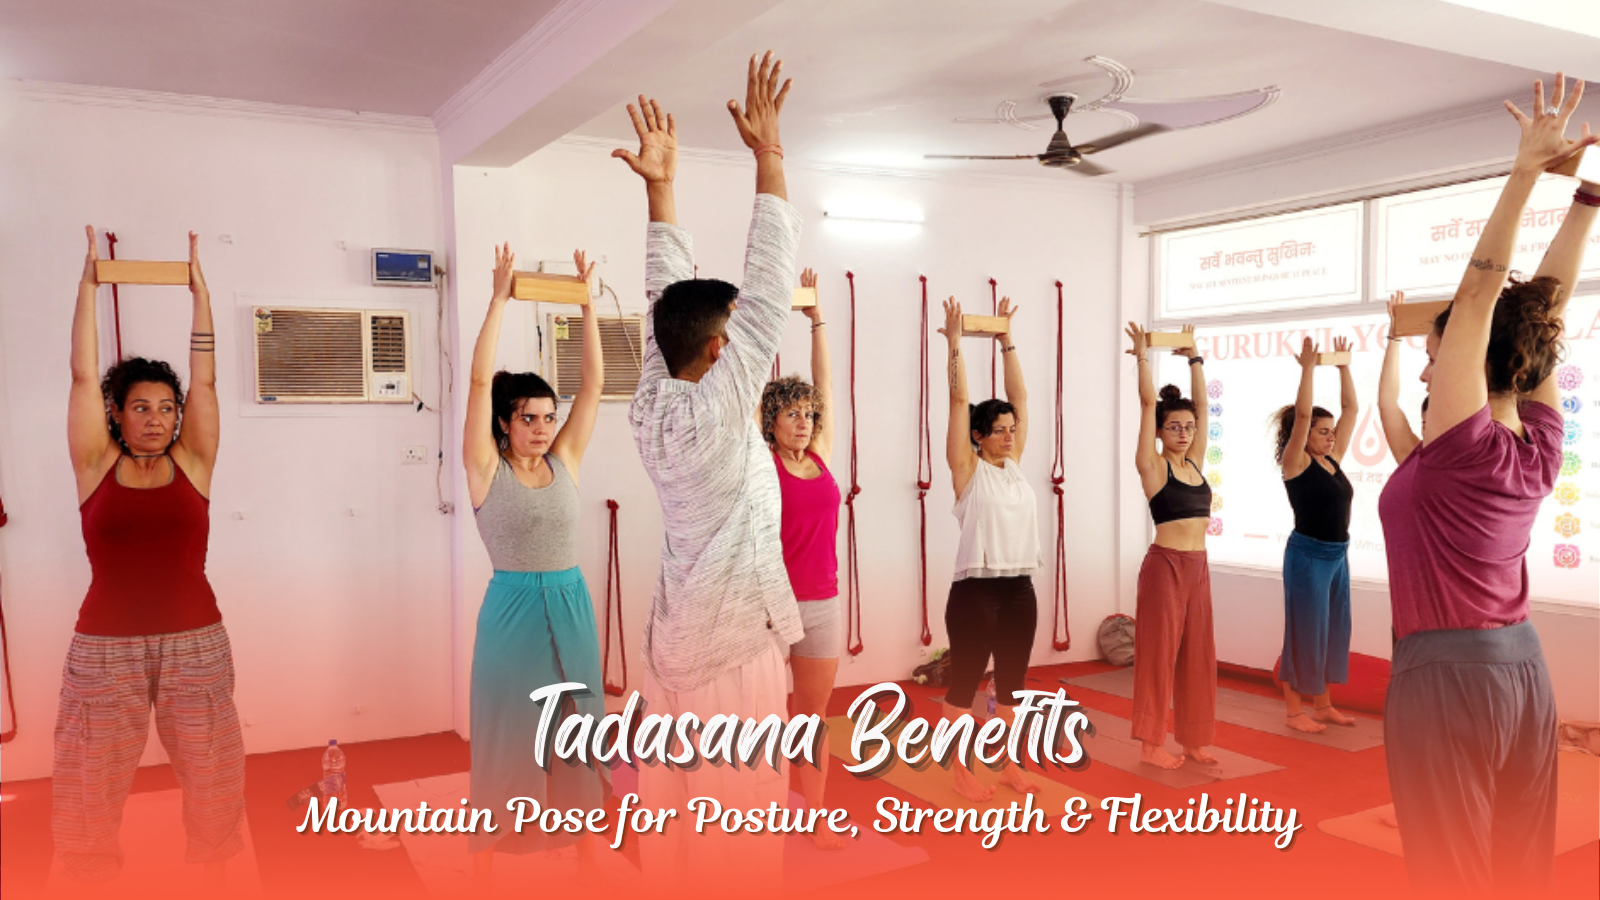
Yoga for Digestion: 10 Best Poses for Bloating, Gas & Gut Health
Good digestion is the essential basis for physical and mental wellness. The body properly absorbs nutrients and effectively removes waste matter because of an efficient digestive system functioning while achieving high energy levels in a fast-paced world. Modern life stress has become a major factor in digestion issues which affect many people through bloating constipation indigestion and acid reflux symptoms. Individuals with poor eating habits together with unhealthy eating habits, high-stress levels, and sedentary lifestyles develop digestive problems that harm gut health and cause discomfort.
People who have dealt with either slow digestion or regular stomach distress will discover significant improvements when they start doing yoga for digestion practices. Yoga asanas for digestion reveal their holistic approach over rapid remedies through their natural method which merges body movements with active breathing together with mental focus for building wholesome digestive health.
Learn more about Yoga for Bloating Relief and Yoga for Digestion. Join our Yoga Teacher Training in Rishikesh to deepen your practice.
Can Yoga Really Improve Digestion?
Performing yoga poses for digestion and bloating designed for digestion regularly leads to the following outcomes:
The stomach and liver along with intestinal organs receive stimulation through gentle twisting movements forward bending postures and abdominal yoga poses that reduce digestive discomfort while enhancing digestive process efficiency.
The circulation of blood in digestive organs receives improvement due to which nutrients get absorbed more efficiently and waste elimination becomes more effective. The body detoxifies through the system and Bhujangasana (Cobra Pose) and Dhanurasana (Bow Pose) as well as Pavanamuktasana (Wind-Relieving Pose) provide this benefit.
The practice of yoga provides relief from indigestion together with acid reflux which develops from stress and wrong posture. Through the performance of Supta Baddha Konasana (Reclining Bound Angle Pose) and Vajrasana (Thunderbolt Pose), individuals can prevent digestive acid development and achieve better digestive processes.
The practice of Yoga for Digestion and bloating promotes both gut motilities along with easing constipation for people who experience irregular bowel movements. Yoga poses for digestion and bloating with a twist and deep stretching techniques help the digestive process and treatment of constipation and gas conditions.
Stress reduces along with improved digestive functions because the brain maintains a strong connection to the gut. The combination of yoga practice for digestive health and meditation and breathwork techniques helps to relax nervous system functions and create better digestive outcomes. The digestive tract finds relaxation through the use of yin yoga for digestion and yoga with Adriene for digestion that combines deep breathing with slow motions.
Best Yoga for Digestion
Daily practice of yoga for digestion after you eat will create a healthier gut system reduce bloating and bring overall digestive comfort. The practice of yoga for digestion after eating brings sustainable and effective benefits to improve digestive health both in the short term and for long-lasting improvement.
This article examines the most suitable yoga poses for digestion, stomach bloating relief, gut health exercises, digestive wellness, poses to relieve bloating, yoga for gut health, Yoga to reduce bloating, then examines their wellness benefits and provides instruction on implementing them for improved digestive health. Individuals who want to expand their yoga knowledge should enroll at the Top Yoga School in Rishikesh. Students who enroll in 200 Hour Yoga Teacher Training in Rishikesh or Pre Natal Yoga Teacher Training in Rishikesh will gain advanced knowledge about yoga principles as well as digestive understanding.
Empower your health through yoga for digestion to discover the key path to superior gut health as well as complete well-being. Practice yoga with Adriene for digestion in a gurukul for your better development.
How Does Yoga Help with Digestion?
A natural practice that supports health functions along with discomfort relief and better nutrient intake occurs in yoga for digestion. Yoga for digestion after eating promotes digestive health when its components of body activation combine with breathing techniques alongside relaxation procedures. You can activate your digestive organs together with bowel movement while sustaining gut health by performing yoga poses intended for digestive health.
The practice of digestion-related yoga postures each day leads to improved digestive health through the following methods:
- Twists along with forward bends and deep stretches used in yoga for digestion practice cause intestinal motion activation which enables food to travel easily through the digestive system. The combination of Vajrasana and Pavanamuktasana and Malasana yoga postures provides successful treatment of constipation while ensuring regular bowel movements.
- Exercising yoga for digestion and bloating helps people suffering from gas build ups release digestive pressure while minimizing stomach uneasiness. The body benefits from the anti-bloating effects of abdominal massage and twisting postures offered through both Ardha Matsyendrasana (Half Lord of the Fishes Pose) and Apanasana (Knees-to-Chest Pose).
- Practicing yoga for digestion after eating can address both acid reflux problems and heartburn symptoms since stress together with improper body positioning often trigger these conditions. The yoga postures Supta Baddha Konasana (Reclining Bound Angle Pose) combined with Ustrasana (Camel Pose) bring a beneficial alignment to the spine that stops acid buildup and minimizes discomfort.
- Improved digestive organ performance results from yoga practice because it enhances bloodstream delivery to the stomach and its internal organs including liver and intestines. The digestive organs get improved nutrient absorption and metabolic function through the light body massages delivered by Bhujangasana (Cobra Pose) and Dhanurasana (Bow Pose).
- The practice of yoga helps lower stress levels that adversely affect digestive functions, particularly for patients experiencing irritable bowel syndrome along with indigestion. Deep breathing along with yin yoga for digestion practice alongside meditation enables your body to decrease nervous system activity thereby minimizing gut health interference from stress. Through their guided programs Yoga with Adriene for Digestion teaches patients to perform breath-controlled movements that help the digestive system become more relaxed.
Additional Tips for Better Digestion with Yoga
Daily practice of abdominal exercise for bloating and digestion can help eliminate your ongoing digestive issues. Yoga for digestion practice regularly leads to significant improvements in both short-term digestive health treatments after eating and long-term strengthening of the overall gut health system.
The Best Yoga School in Rishikesh gives students comprehensive knowledge about using yoga as a tool for digestive health. You should join the 200 Hour Yoga Teacher Training in Rishikesh or undertake Pre Natal Yoga Teacher Training in Rishikesh to deepen your comprehension of yoga’s impact on digestion and overall health. The immediate practice of yoga for digestion will guide you toward improved gut health as well as general digestive well-being. You can practice yoga moves for digestion in Gurukul for your better practice.
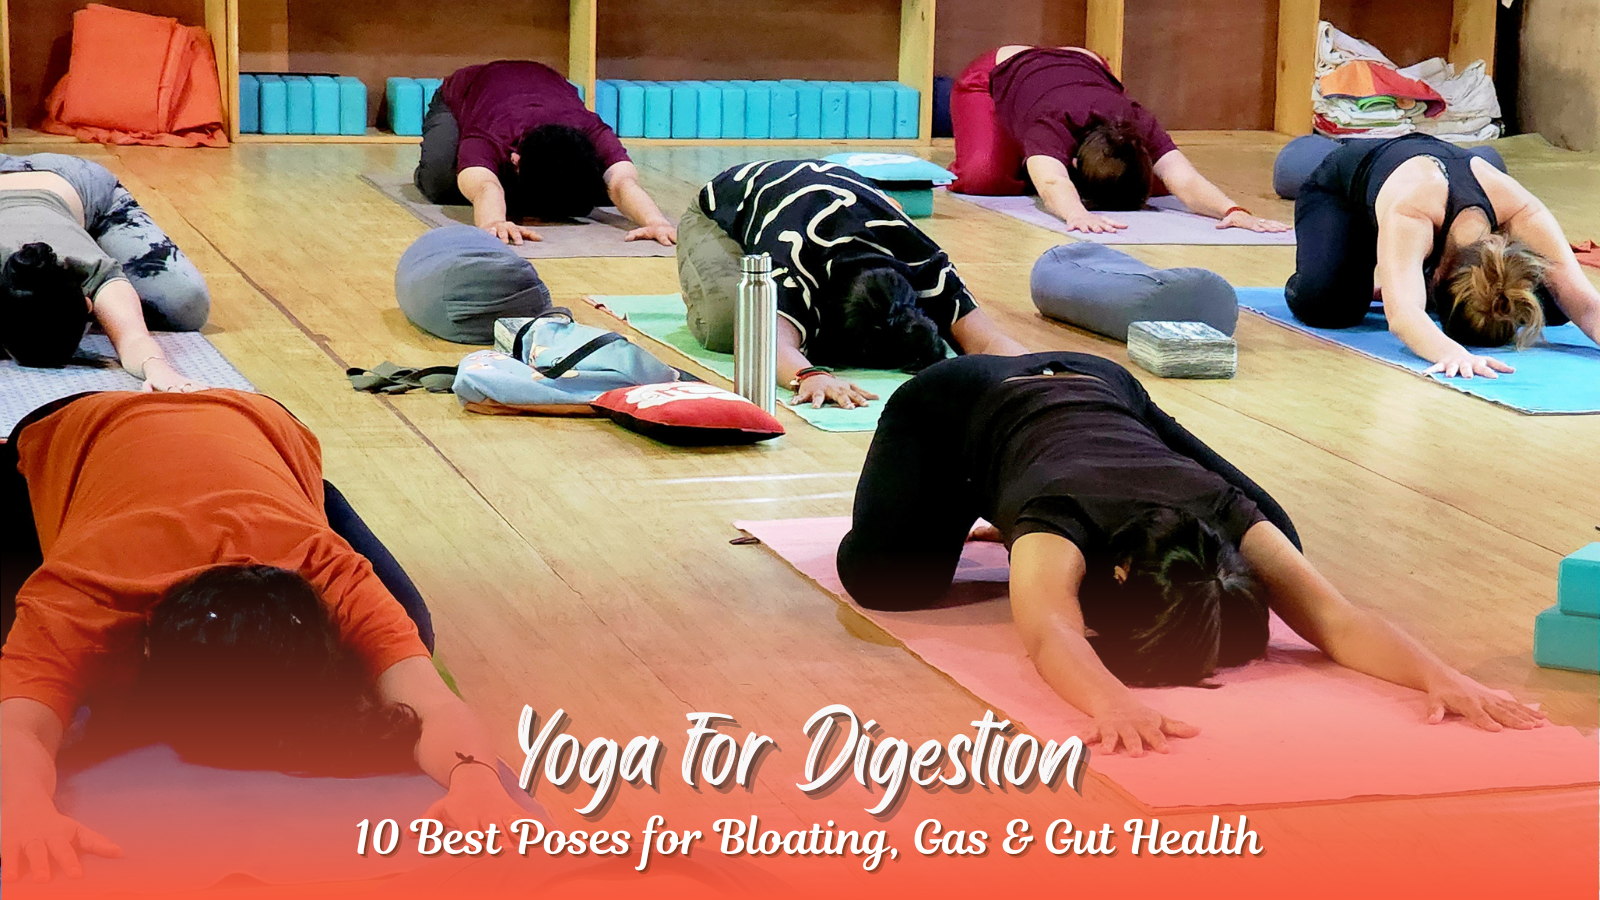
10 Best Yoga Poses for Digestion, Bloating, and Gas
Best poses for digestion relief
1. Vajrasana (Thunderbolt Pose) for Digestion and Gut Health
Which features of Vajrasana help digestion? The practice of Vajrasana represents one of few yoga postures which people can perform directly after eating. Blood flow creates benefits to digestive functions in the stomach and intestines also Gut health improvement with yoga.
The way to perform Vajrasana:
- Make sure your position of your body by kneeling on the floor while letting your toes rest together and managing them in the sitting position of your heels.
- Manage your position with your hands gently on your thighs with your back that is maintained in a straight posture.
- Keep staying in the pose between 5 to 10 minutes while inhaling and exhaling very deeply.
2. Pawanmuktasana (Wind-Relieving Pose) Best Yoga for Digestion
The practice of this yoga pose can relieve gas retention while lowering the bloating effects on the body.
The way of performing Pawanmuktasana:
- Manage your sitting position on the floor with your back against a wall before drawing your knees to your chest.
- Make sure your position and the knees are next to each other while maintaining the pose between 30 seconds to one minute.
- Keep performing it many times as needed to aid digestion.
3. Ardha Matsyendrasana (Seated Twist Pose) Best Yoga for Digestion
The twisting yoga positions which stimulate the intestines produce beneficial effects on digestion and this will help to promote regular bowel movements.
The way to perform Ardha Matsyendrasana:
- Sit with your legs extended.
- Rest your right foot upon the left thigh by bending your right knee.
- Hold your torso to the right side during the 30 seconds.
Repeat on the other side.
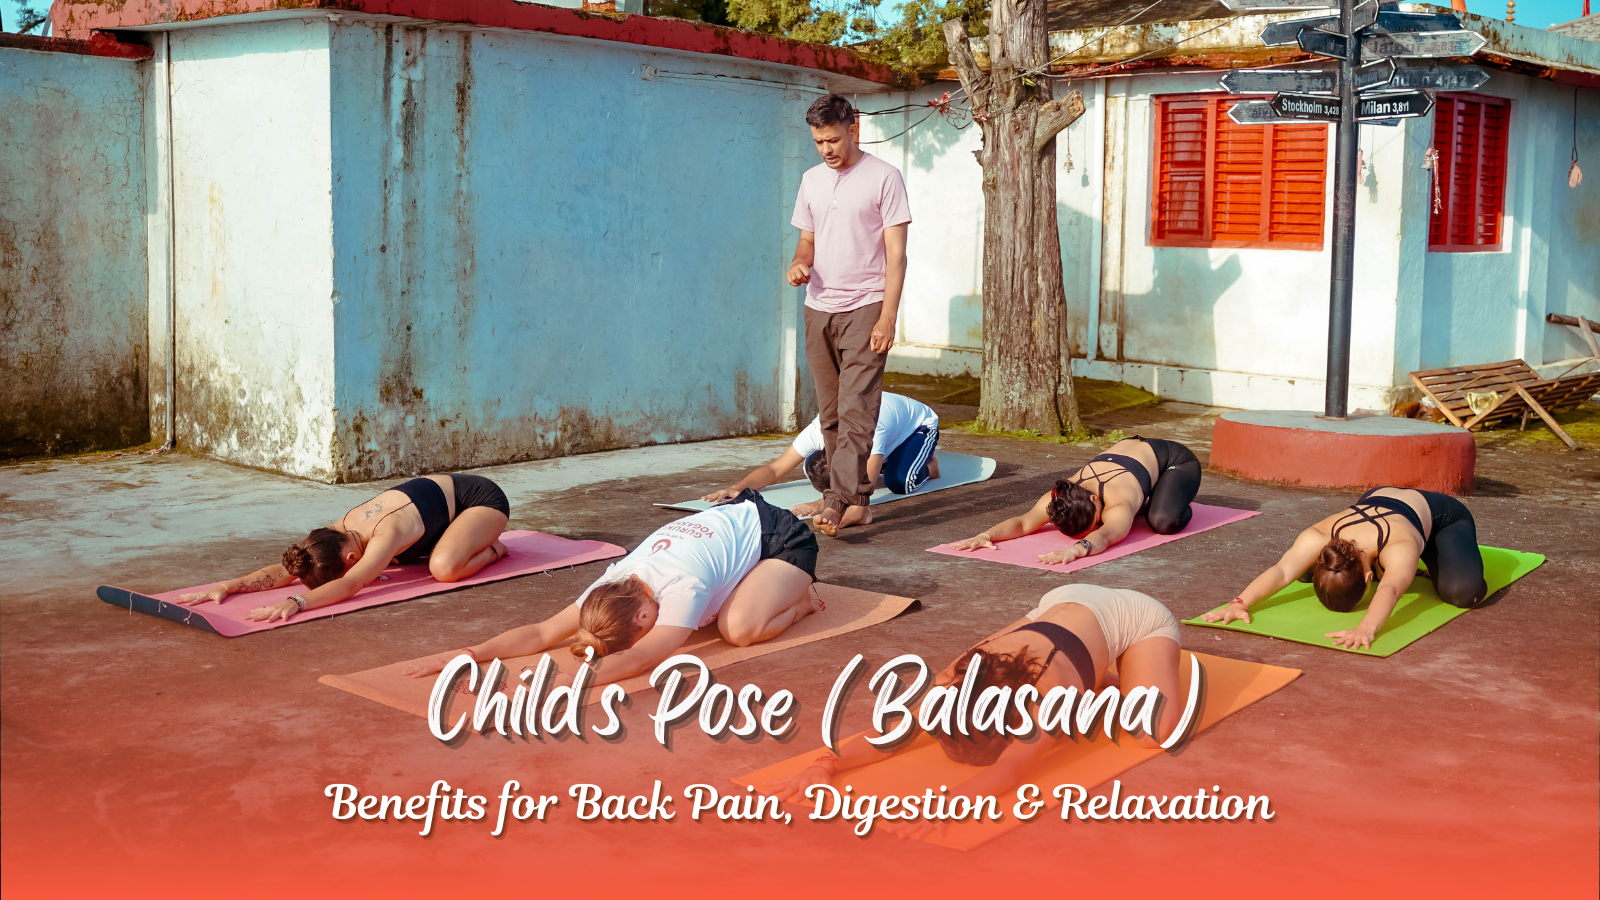
4. Balasana (Child’s Pose) Best Yoga for Digestion
This Balasana yoga pose for digestion after eating provide calming effects which help both stress reduction and digestive health benefits among yoga practitioners.
How to perform Balasana:
- Bend your knees while you sit on your feet to extend your arms forward.
- Place your forehead on the surface of the floor.
- Hold for 1-2 minutes, breathing deeply.
5. Setu Bandhasana (Bridge Pose) Best Yoga for Digestion
Setu Bandhasana this fantastic yoga position for digestion, the practitioner can achieve better digestion through organ abdominal massage.
How to perform Setu Bandhasana:
- You must lie with your back while your knees stay bent and your feet maintain a hip-distance width.
- Push your feet down to the surface as you lift your hips upward.
- Hold for 30 seconds to 1 minute.
6. Apanasana (Knee-to-Chest Pose)
Apanasana presents a mild approach to yoga which tackles digestion together with bloating by reducing gas and calming stomach pressure.
How to perform Apanasana:
- Step onto your back and fold your knees toward your upper body.
- Position your hands on your shins then move your legs gently from side to side.
- Refrain in this position for thirty to sixty seconds.
7. Supta Matsyendrasana (Supine Twist)
The twisting posture helps purify the body system while easing digestion in the upper areas.
How to perform Supta Matsyendrasana:
- Lay back on the floor with bent knees.
- After placing your shoulders on the floor, you should position your knees to your right side.
- Keep the position for thirty seconds before moving to the opposing side.
8. Ustrasana (Camel Pose)
Ustrasana functions as a yoga posture that expands belly tissue while activating digestive processes.
How to perform Ustrasana:
- You should kneel on the floor before reaching for your heels to arch your back.
- Hold for 20-30 seconds.
- Adopt a neutral posture by progressively returning to it.
9. Paschimottanasana (Seated Forward Bend)
Yin yoga experts recognize this pose as an effective digestion treatment that activates stomach organs to treat indigestion.
The way of performing Paschimottanasana:
- Reduce your body position while you bend your body in half while stretching to touch your feet.
- Hold for 30 seconds to 1 minute.
10. Bhujangasana (Cobra Pose)
The practice of Bhujangasana accomplishes two essential actions that consist of enhancing digestive muscle strength and improving belly blood flow.
The way to perform Bhujangasana:
- Position yourself facing up on the ground while placing your hands beneath your shoulders.
- Lower your body torso until floor contact remains between your upper body and the floor.
- Hold for 30 seconds, then release.
Frequently Asked Questions (FAQs)
Which yoga is best for digestion?
The three most effective yoga postures for digestive and gut health include Vajrasana together with Pawanmuktasana and Supta Matsyendrasana.
How to digest food in 5 minutes using yoga asanas?
The practice of Vajrasana directly after consumption should be followed with gentle twisting through Ardha Matsyendrasana to enhance digestive processes.
Is Vajrasana good for digestion?
Yes! Thorough blood circulation to digestive organs through this practice helps to prevent digestive discomfort and acidity.
How many minutes should I practice Vajrasana?
Begin your practice with five minutes and work up to increase it to fifteen minutes to achieve maximum benefits.
What pose is best for digestion?
The two ideal yoga postures that reduce bloating and promote digestive health are Pawanmuktasana and Apanasana.
Which mudra is best for digestion?
Among hand gestures, Apana Mudra and Pushan Mudra prove to be effective for enhancing digestive fire.
Final Thoughts on Yoga for Digestion
Your gut health together with overall wellness can be substantially improved through regular daily practice of yoga for digestion. Your digestive system receives activation when you practice yoga poses for digestion while your metabolism becomes stronger and you can diminish the symptoms related to bloating along with constipation and indigestion. Yoga serves as a strong tool that helps both short-term discomfort management and established treatment methods for digestive health needs. You can learn different yoga positions for digestion in Gurukul.
When practicing yoga asanas to support digestion you achieve more than gut health benefits since they simultaneously support stress reduction and nerve system balance and improve blood circulation. Yoga practices meant for digestion and bloating management provides transformative benefits for people who frequently deal with such symptoms. Select postures that include twists and forward bends as well as deep breathing exercises work as detox tools to maintain yoga for digestive health.
If you want to study yoga teachings about digestive movement exercises together with deepening your yoga knowledge then an organized yoga training program will yield great benefits. At the Best Yoga School in Rishikesh, students can take either the 200 Hour Yoga Teacher Training in Rishikesh or progress further with the Pre Natal Yoga Teacher Training in Rishikesh. The curriculum in these programs enables students to learn traditional yoga methods along with valuable information on yin yoga for digestion techniques and breathwork and meditation practices which enhance gut health.
Beginning with basic yoga postures for digestion regardless of your current expertise will result in visible improvements. The best experts regarding yoga for digestive health include certified instructors and trusted sources such as Yoga with Adriene for Digestion and its accessible yoga sessions promoting digestive health.
Regular practice of yoga after eating will create body and mental benefits which you can experience through making this routine part of your daily life. Yoga for digestive health will lead to strengthening digestion while also providing better energy levels and a more profound relationship to your well-being. Start practicing yoga now because its healing effects will restore your digestive health.